Clare’s top 5 tips for making stickers.


  • Advice & Tutorials
  • Cute stickers flatlayed on a dark background.

    Stickers are a great product that can get your illustrations out there. They’re low-cost, fun and versatile, meaning that they’re great both to sell and to purchase. Below I’m going to go through my five top things to consider when creating your designs.

    1. Order sticker supplier samples

    If this is your first venture into producing stickers, or you’re trying out a new finish, it’s worth ordering some sample packs from a few suppliers so that you’re familiar with the quality of their print, how the material feels, and the finishes they have available. This also allows you to really asses what you’re going to get for your money and which is the best deal for your needs. Some great suppliers are:

    Sticker Market

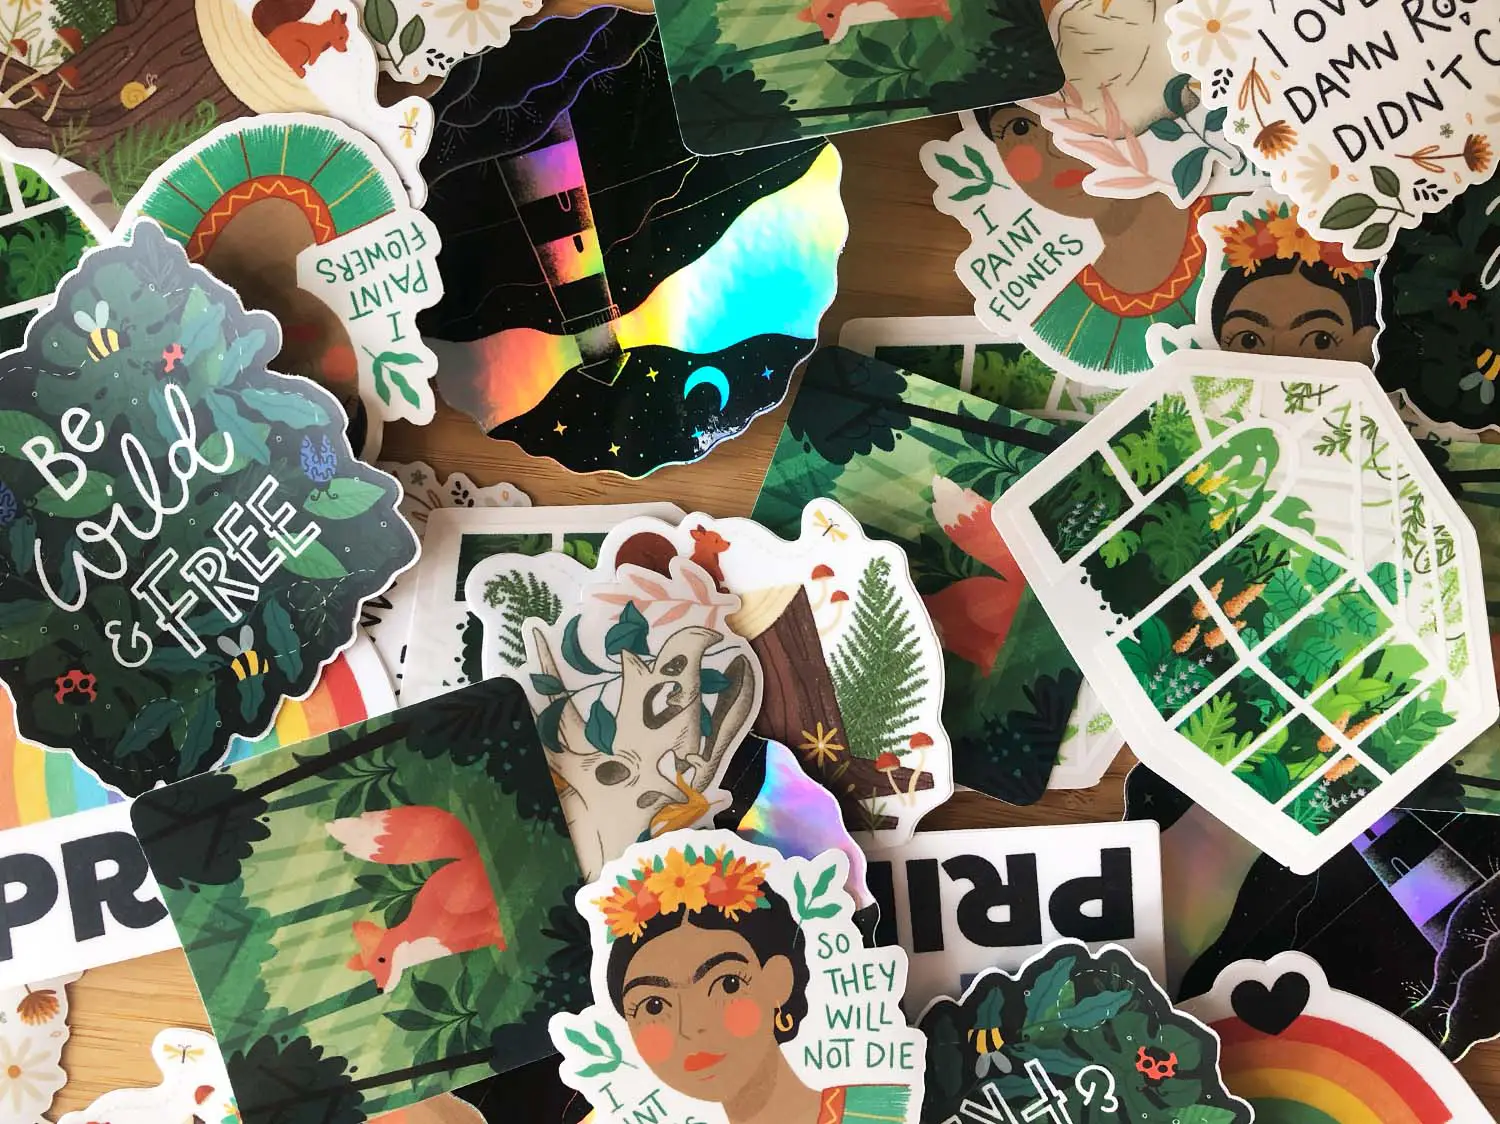
    Sticker Market reached out to me to offer me some free stickers to try their services, and I’m pleased to say that I was really happy with the finished product! They offer a range of finishes and cuts, as well as other brand materials to support your business. Above you can see the design I worked on with them and how good the print quality and finish is!

    Sticker Mule

    I really love Sticker Mule. The quality of their stickers are fantastic and they have a great range of finishes. If you subscribe to their emails, you’ll get notified every time they launch a new deal, which are usually really great value. You can also get a discount by using my referral here.

    StickerApp

    The guys at StickerApp do great quality stickers with many different finishes and cuts/shapes for a good price.

    2. Remember how big your stickers will be when printed

    It’s easy when you’re creating artwork to spend most of your time zoomed into the artboard while you work on the detail, but you should try to keep scaling back to view the design at full-size. This will ensure that your sticker is appearing as you want it to, and you’re not losing any critical details when it gets printed.

    3. Consider bleed when making stickers

    There’s nothing worse than finishing some awesome work and then realising you forgot to add bleed. You then either need to add that in afterwards, which may or may not work out well, or you need to use some of your artwork as bleed, which could mean cutting out important detail. This one’s really easy to forget… guilty, I’ll admit. If you include borders around your designs (such as on my Tree Stump Sticker), then all you need to do is make sure you leave enough space for it around the edge.

    4. Use the material finish to enhance your sticker design

    In addition, to the cut, there’s lots of different options when it comes to the finish and material that you choose to have your stickers made with. These include but are not limited to:

    Use the material that you choose to your advantage by considering your design and what it would benefit from. A pastel and soft illustration may be enhanced with a matte finish to continue the soft appearance. A space-centric design would be well suited to a holographic or glittery finish.

    You should also consider the purpose you intend your sticker to be used for. Does it need to be removable? Does it need to withstand the elements? You’ll easily be able to find the perfect material for most uses.

    5. Have fun when making stickers

    It’s easy to agonise over the products that we make with the intention of them being perfect in every detail. However, it’s worth reminding yourself that stickers are cheap to produce as well as to sell. Not every design needs to be a work of art. Your customers are not taking your stickers too seriously, mainly because of the nature of stickers, so you needn’t either! Have fun with the creative process and take pleasure and pride in the finished product.

    In the interest of transparency, this blog post was written as part of a partnership with Sticker Market. Everything written within is my true opinion. I received a free print run of 100 stickers from this partnership.

    Related topics.

    How to set up postage for your online shop.

    When you first get started, setting up your online store postage can be really daunting. Over the years I’ve had to reassess and change this system several times, including when moving to a new website or marketplace. It’s easy to feel overwhelmed by all the options available to you, and...

    Read Article

    How to create a repeating pattern in Adobe Illustrator.

    In this repeating pattern tutorial, I’ll show you how to create a pattern that seamlessly repeats in a grid fashion. This guide is suitable for people who already have a basic understanding of how Adobe Illustrator works and how to create artwork. It’s quite straightforward to make an illustrated pattern...

    Read Article

    Let's chat!

    If you’d like to reach out to me to talk about a project, collaboration, have some Qs or want to say hi, drop me a message - I’d be happy to help!

    Get in Touch

    Let’s keep this good thing going.

    Be the first to know about new articles, products, and projects too.

    This field is for validation purposes and should be left unchanged.